Introduction
In this article, we are going to see how to create voice recognition in angular can translate spoken words into text using closed captions to enable a person with hearing loss to understand what others are saying. It’s most useful for students, employees, and client communications purposes rather than using voice commands instead of typing.
First, we have created a basic Angular application using Angular CLI.
you’ll need to use the Web Speech API, which is supported by modern web browsers. Here’s a step-by-step guide to get you started:
1. Set Up Your Angular Project
First, create a new Angular project if you don’t already have one:
ng new voice-to-text
cd voice-to-text
ng serve
2. Create a Service for Speech Recognition
Create a new service to handle speech recognition logic:
ng generate service speech-recognition
In the generated service file (speech-recognition.service.ts), implement the following code:
import { Injectable, NgZone } from '@angular/core';

@Injectable({
  providedIn: 'root'
})
export class SpeechRecognitionService {
  private recognition: any;
  private isListening = false;

  constructor(private zone: NgZone) {
    const { webkitSpeechRecognition }: IWindow = window;
    this.recognition = new webkitSpeechRecognition();
    this.recognition.continuous = true;
    this.recognition.interimResults = true;
    this.recognition.lang = 'en-US';

    this.recognition.onresult = (event: any) => {
      let transcript = '';
      for (let i = event.resultIndex; i < event.results.length; ++i) {
        if (event.results[i].isFinal) {
          transcript += event.results[i][0].transcript;
        }
      }
      this.zone.run(() => {
        this.transcriptHandler(transcript);
      });
    };
  }

  private transcriptHandler(transcript: string) {
    // Handle the transcript
    console.log(transcript);
  }

  startListening() {
    if (!this.isListening) {
      this.recognition.start();
      this.isListening = true;
    }
  }

  stopListening() {
    if (this.isListening) {
      this.recognition.stop();
      this.isListening = false;
    }
  }
}

interface IWindow extends Window {
  webkitSpeechRecognition: any;
}
3. Create a Component for Voice Input
Generate a new component for capturing and displaying the speech input:
ng generate component voice-input
In the generated component (voice-input.component.ts), use the service:
import { Component } from '@angular/core';
import { SpeechRecognitionService } from '../speech-recognition.service';

@Component({
  selector: 'app-voice-input',
  templateUrl: './voice-input.component.html',
  styleUrls: ['./voice-input.component.css']
})
export class VoiceInputComponent {
  transcript: string = '';

  constructor(private speechRecognitionService: SpeechRecognitionService) {
    this.speechRecognitionService = speechRecognitionService;
    this.speechRecognitionService.transcriptHandler = (transcript: string) => {
      this.transcript = transcript;
    };
  }

  startListening() {
    this.speechRecognitionService.startListening();
  }

  stopListening() {
    this.speechRecognitionService.stopListening();
  }
}
4. Create a Template for the Component
In the component’s template file (voice-input.component.html), add buttons to start and stop listening, and a textarea to display the transcript:
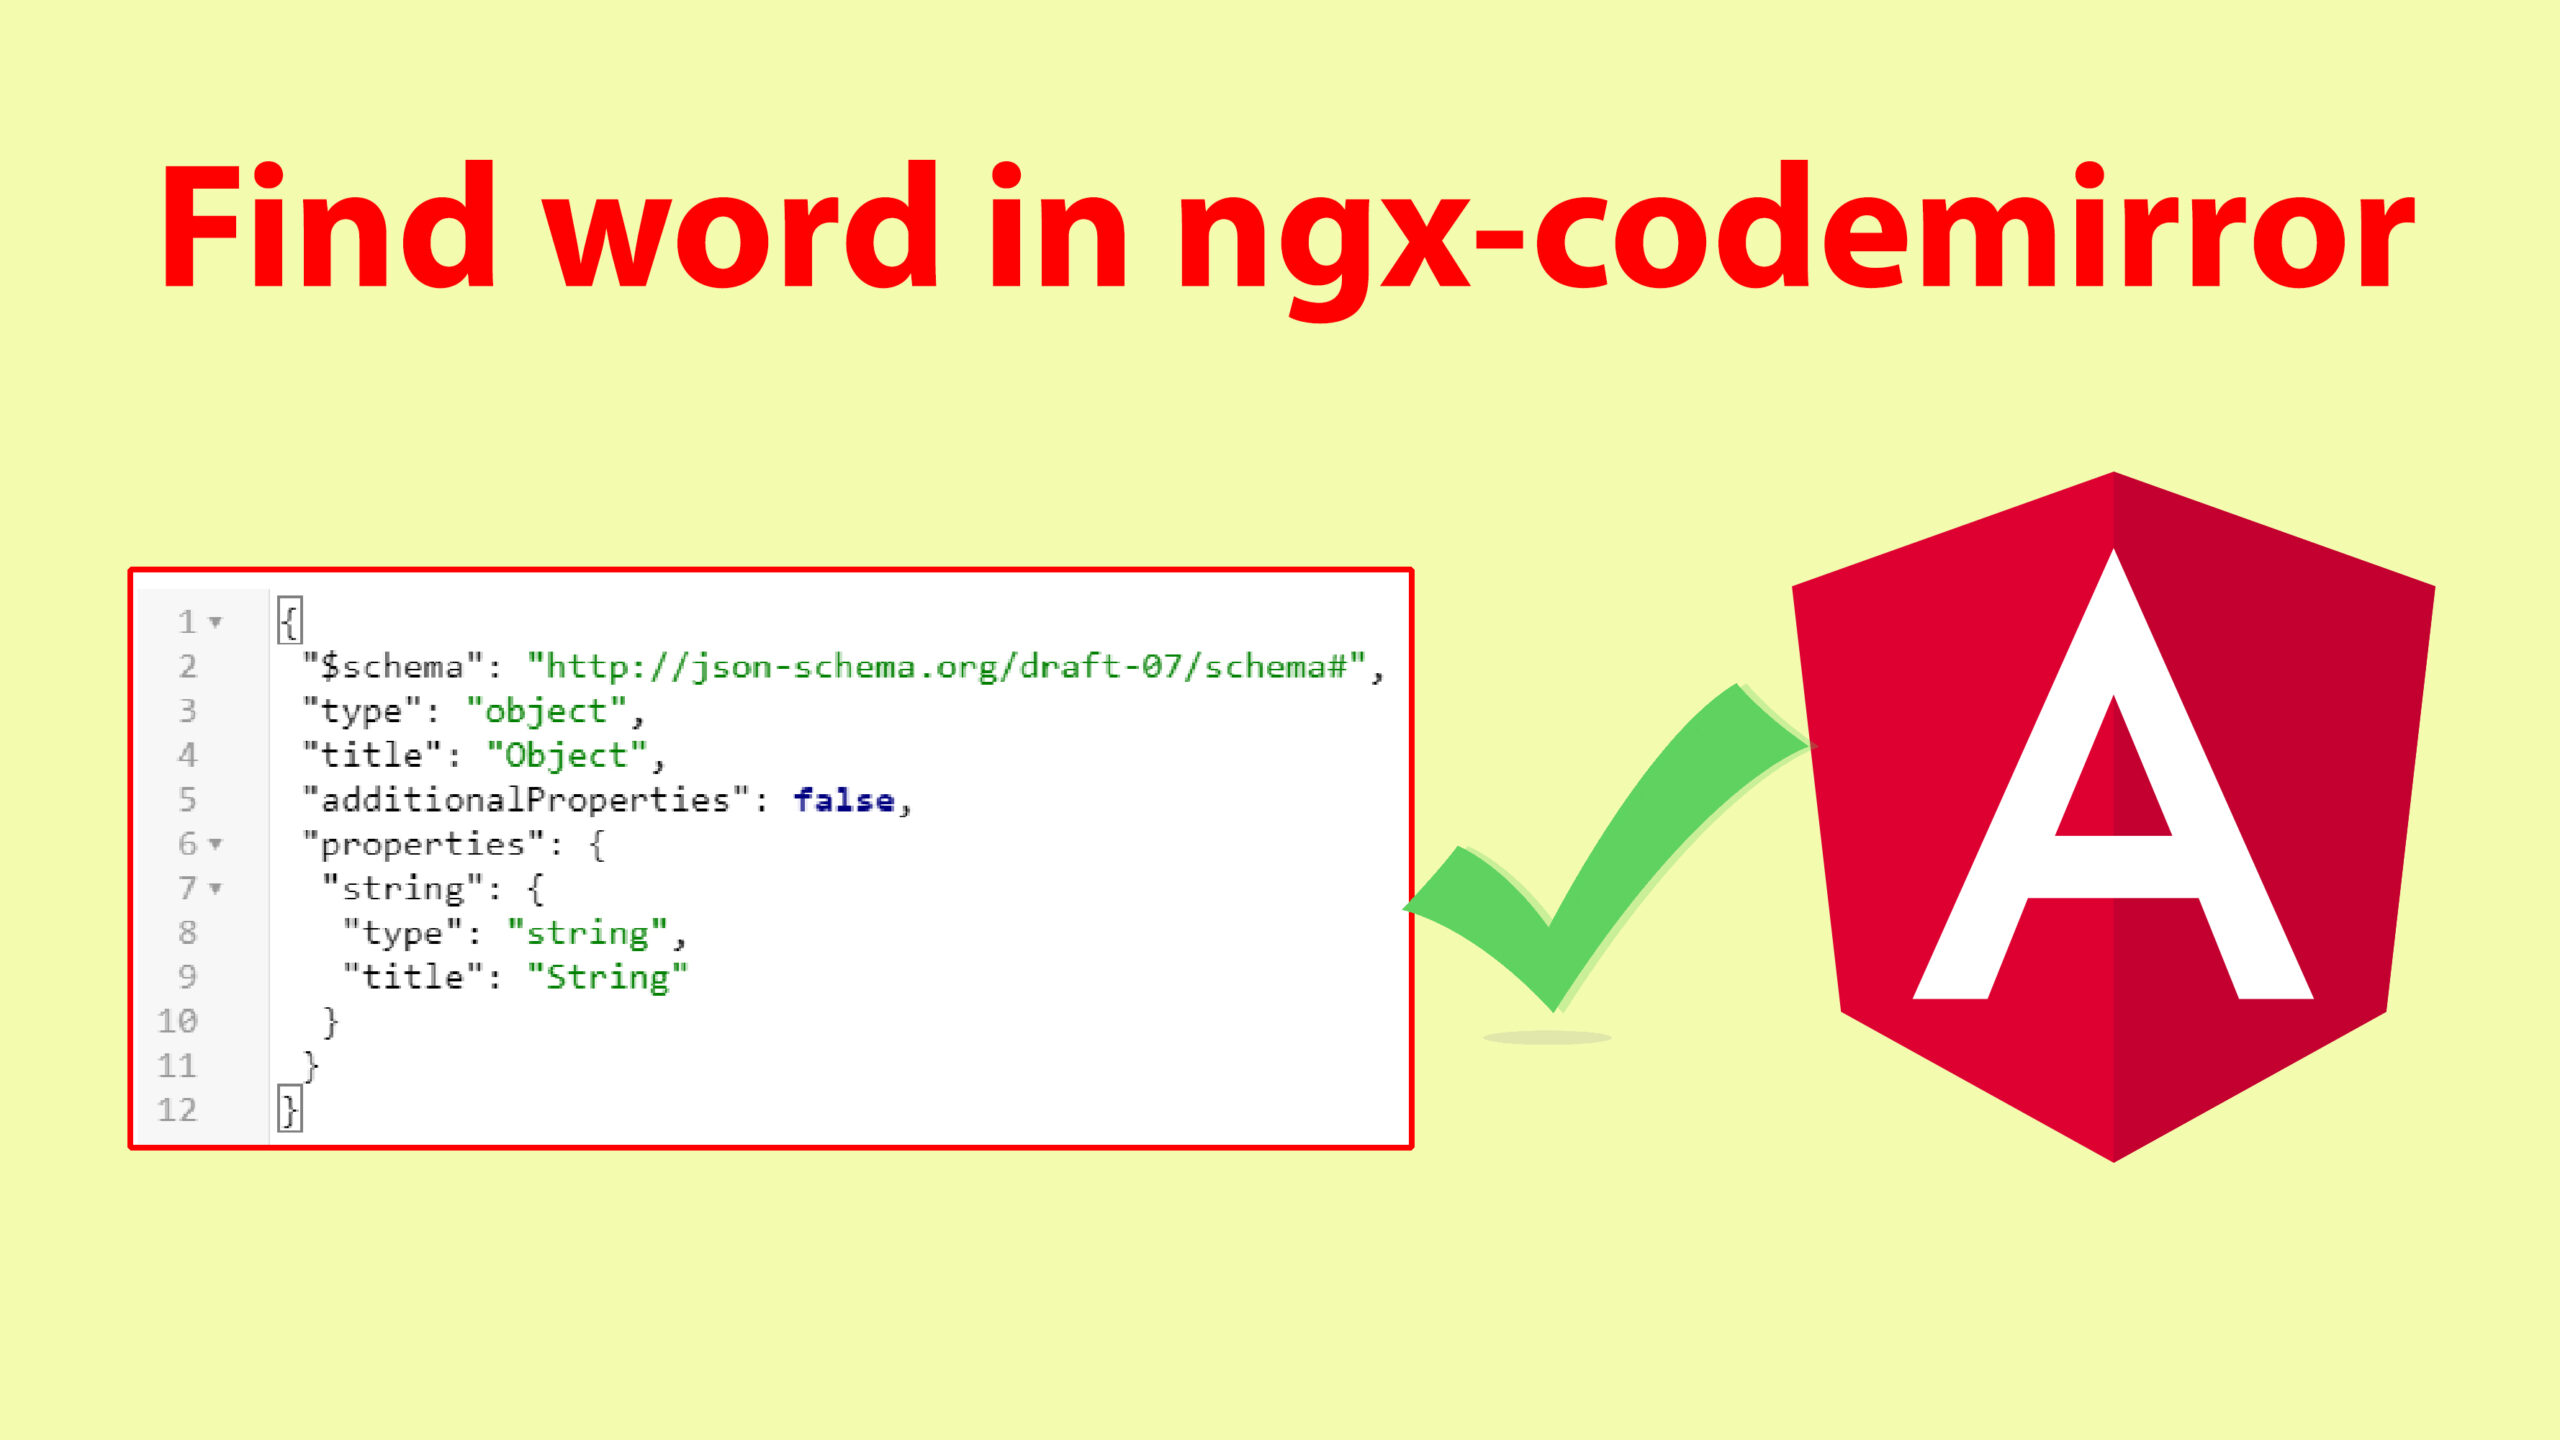
<ngx-codemirror
  [options]="{
    lineNumbers: true,
    // other CodeMirror options
  }"
  [(ngModel)]="code">
</ngx-codemirror>
5. Add the Component to Your App
Include the VoiceInputComponent in your main app component:
In app.module.ts:
import { NgModule } from '@angular/core';
import { BrowserModule } from '@angular/platform-browser';
import { AppComponent } from './app.component';
import { VoiceInputComponent } from './voice-input/voice-input.component';
import { SpeechRecognitionService } from './speech-recognition.service';

@NgModule({
  declarations: [
    AppComponent,
    VoiceInputComponent
  ],
  imports: [
    BrowserModule
  ],
  providers: [SpeechRecognitionService],
  bootstrap: [AppComponent]
})
export class AppModule { }
In app.component.html:
<app-voice-input></app-voice-input>
6. Run Your Application
Start your Angular application:
ng serve
i hope are you enjoying the code. thanks for visiting


Leave a Reply